Starter Project for the Builder of a Metal
Homebuilt
Anytime you set forth to aquire a new skill, it helps to
have a low-risk project to practice on.
In aviation metalwork, this was traditionally a tool or
lunch box. I chose to make a roof rack box. I needed one to carry a
stroller AND a high chair at the same time - my son was in the
"Logistics Years" and our small cars did not have room for that, plus
all the other diaper bags, portable cribs, etc.
By the time I finished this project, Daniel did not use
either a stroller or a high chair, and I swear that at times it
seemed a wing would have been easier to build.
Still, it was good to work on riveting, forming,
drilling, fitup, and finishing on something I didn't feel needed to
be "flight hardware".

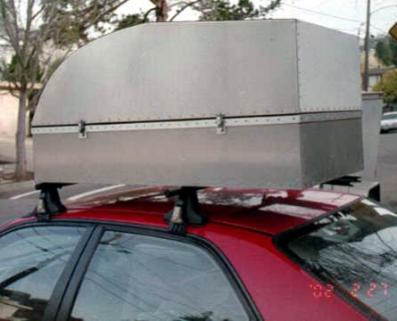
The airfoil shape was formed like a huge rib, the forward
edge beaten over a contured form made of particle board. The skin on
the lid was surplus .020" 2014-T8, bare, which is why it got painted
- 2000 series (copper bearing) alloys have shitty corrosion
resistance without AlClad (pure aluminum) to protect them.. The rest
of the skins are .025 6061-T6, and were left bare because they can
be, because I was in a hurry, and because I was too damn lazy. Both
the lid and the lower box are framed with 6061-T6 surplus extrusions.
Riveting is a little bit of everything - aluminum AVEX pulled
rivets, steel pop rivets from several sources, both flush and normal
heads, and driven rivets, surplus from Airparts.
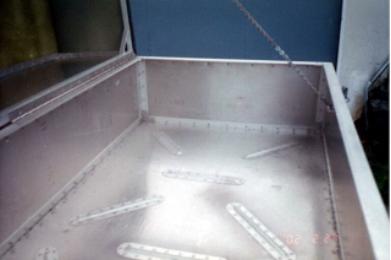
Here's the interior of the box, with the stiffeners I
beat out of .032 6061-T0. Bad idea making them seperate pieces. If
you count all the rivets, it drove my parts count through the roof.
You can see, if you squint, the framing and bracing of the box and
the lid. I did not jig anything on assembly, and was able to get it
pretty close to square. Mitering the corner angles rather than
lapping or coving them was another mistake.
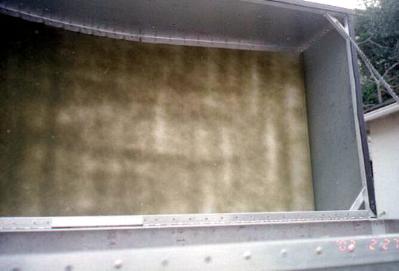
The lid skin was degreased, etched with phosphoric acid
(Jasco brand metal prep), and shot with rattle cans. This view shows
the Zinc Chromate. Notice how light it is - that's enough.
Closeup on the framing, bracing, the big machine screw is
for the holdown strap that attaches the whole mess to the Yakima rack
cross bars, and you can see the tip of one of the flutes. Truly
careful examination will reveal some swarf still in the box, a year
after it was put into service.
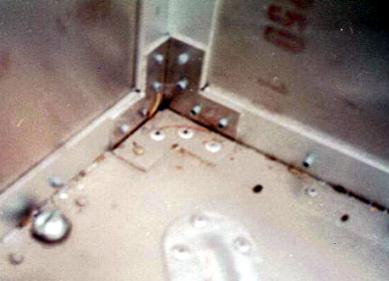
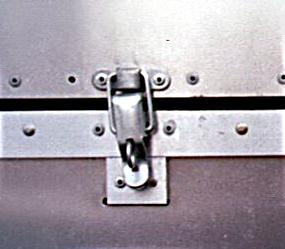
Detail of the latch. Black margin is foam weatherstrip
tape. Note the mix of rivets. Poppers were dipped in self-etch
primer before setting. Some of the steel poppers, which were also
zinc plated, are starting to rust, in spite of this
treatment.
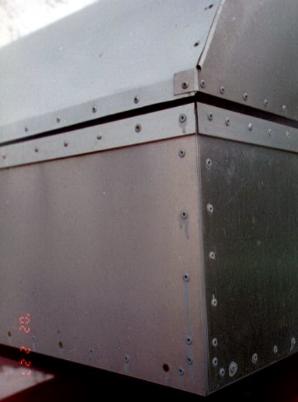
Forward outside corner. I played around with rivet
patterns, as you can see. Note flush poppers on lid skin.
I think this project consumed about $100 and 100 hours.
It was well worth it.
GO BACK TO
RYAN'S HOME PAGE
E-Mail
Ryan