Notes on overhauling a Tillotson Model X Carburator
A Tillotson Model X Stripped Bare
Why bother farting around with a carb that's been out of production for at least 30 years? Well, some think that it's still an excellent choice for a flying VW engine. It's simple, robust, and does a pretty good job, for this size engine, of supplying the right fuel-air mixture over the entire speed range of use, which is about 800 to maybe 3600 RPM max, and that would be pushing it.
I bought a couple of cores, and recently set to work overhauling them. While there is a lot on the web about overhauling Zenith Model A carbs, there is bugger-all on the Tillotsons, which were/are MUCH lighter (Zeniths are CAST IRON), cheaper, and in some ways better.
First, a note about cores. It's best to examine them, or at least get good pictures, with the top cover off. One of my cores looks to be unsalvageable, as the boss for the main jet is broken, right in the throat where it all happens, mixture wise. I might be able to fix this with some JB weld, but for now, it's paperweight. And neither core I bought online had a choke/mixture driver. Not essential for my aviation application - I'll be using a primer to cold start the engine - but if you're building up a car, you'll want one. The OTHER core I bought had it's own problem, it looked like The Jolly Green Giant had stepped on the intake, more no that anon.
Another issue is the overhaul kits. Some are MUCH more complete than others. The $75 kits have damn near everything, including new choke and throttle shafts and butterflies. My $15 kit has the gaskets, jets, float valve, the several needle valves, and not much else. But it's sufficient, with my cores, although I would like to have the smaller passage plugs to be able to clean out EVERYTHING.
Finally, the 13/32 inch wrench you'll need to get the Gas Adjusting Needle Housing out is a rare beast indeed, get a cheap 10mm open end wrench and file it to fit.
Disassembly is pretty self explanatory. If something doesn't want to come apart, soak the whole deal in carb cleaner a day or so before trying it again. You can use a LITTLE heat on the housings, but not much, or you'll have a shiny puddle on the shop floor. Rust is not a problem with Tillotson's, but old dried up gas is pretty effective locking compound. So, back in the dip tank.
Here is the problem I had with my "best" core. What's wrong with these pictures:
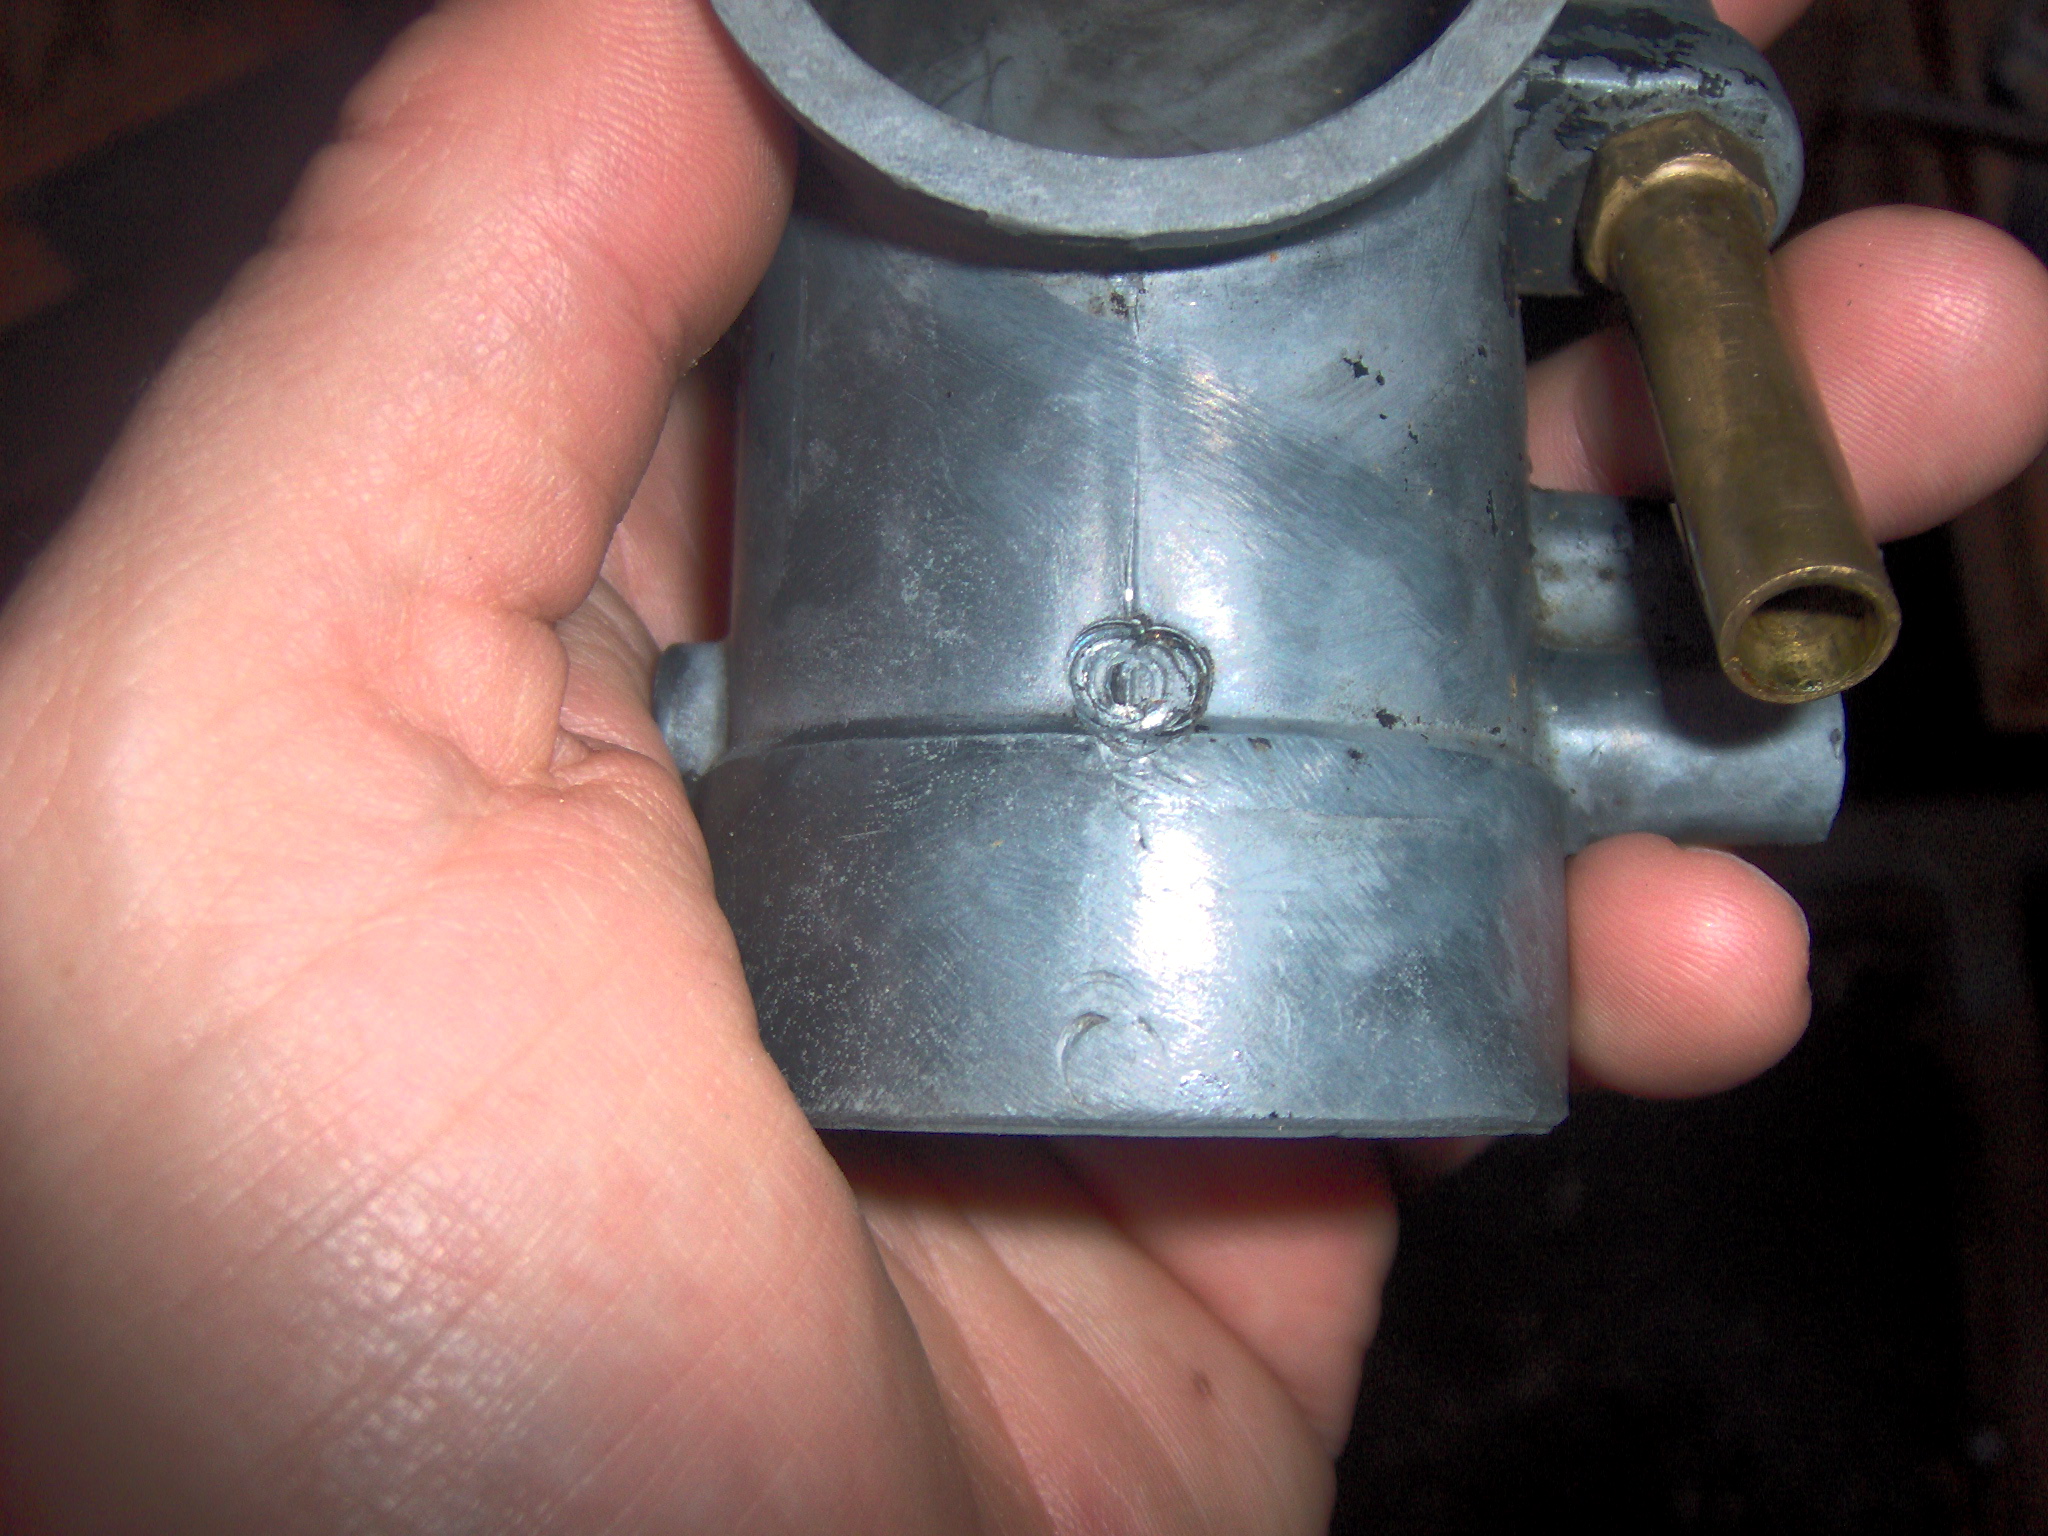
Notice the circular crater in the center of the intake horn? (this is the top of the lower casting by the way) Some Brain Donor in the past honked down on the grub screw holding the Air Maze on so hard it ovalized the intake horn itself. It was a lot worse before I took these pictures, I've already pressed it almost back into shape.
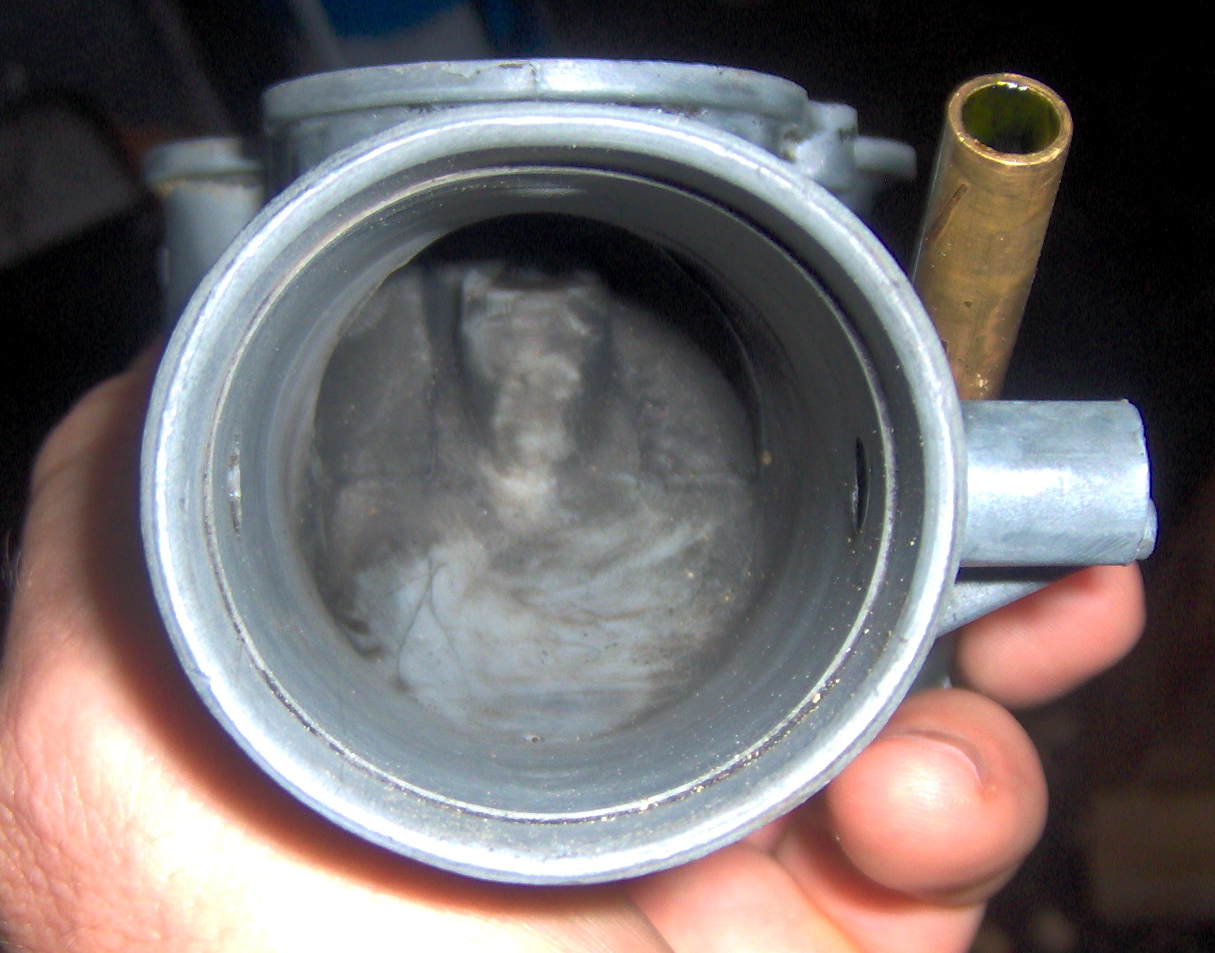
Here you can see the bottom of that crater protruding into the ID of the "kirksite" casting, also called "pot metal", a low melting point mixture of zinc and aluminum that is a pretty great material for this sort of casting, as long as you keep it away from salt water. The choke shaft and butterfly plate goes in here, the main jet is way up in there, and the Gas Adjusting Needle Housing is still in this core, it's the brass tube on the right side. I'll use my fancy tooling to get this horn close(r) to round again.
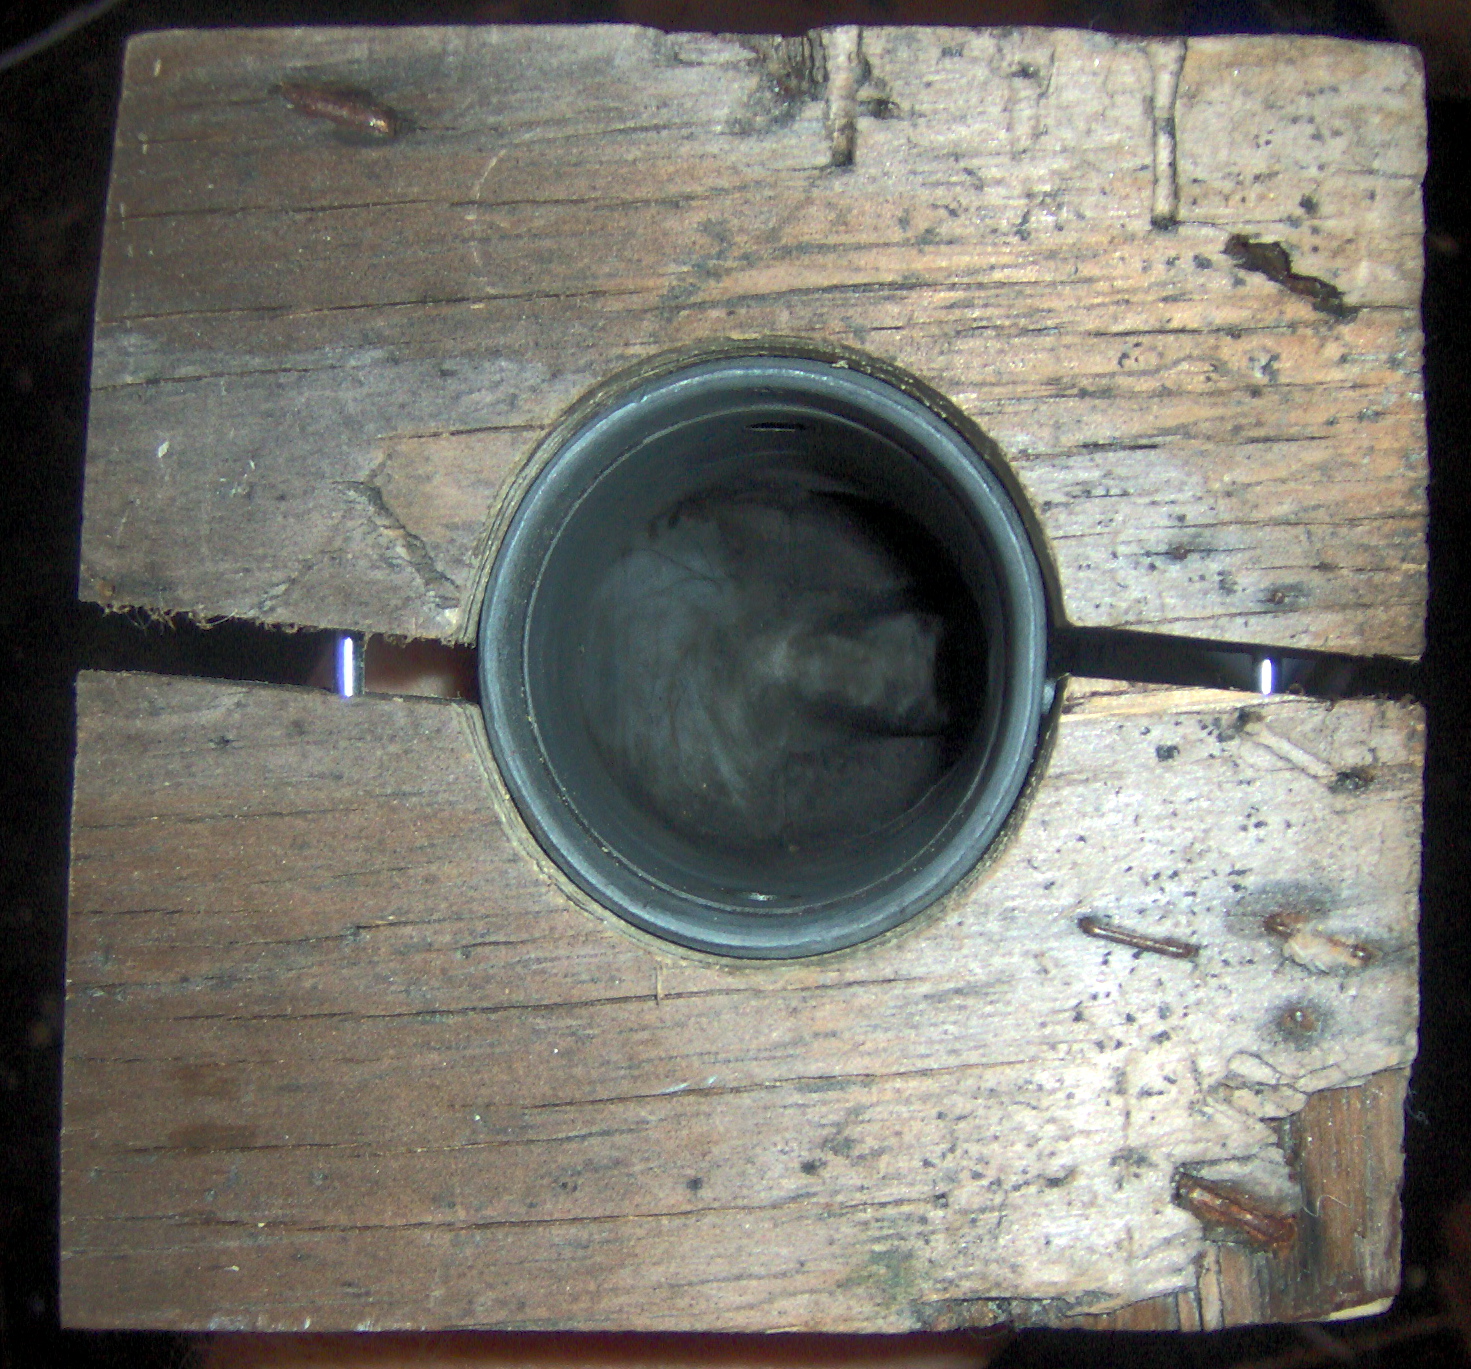 Here's the fancy tooling, a 1 inch thick piece of (hardwood?) plywood scavenged out of an old couch. The idea is to press it back into shape, without putting too much of a point load on the rather brittle casting. Note the "tooling pins", other wise known as common nails with the heads cut off. I use a lot of them. Thanks, R.S Hoover.
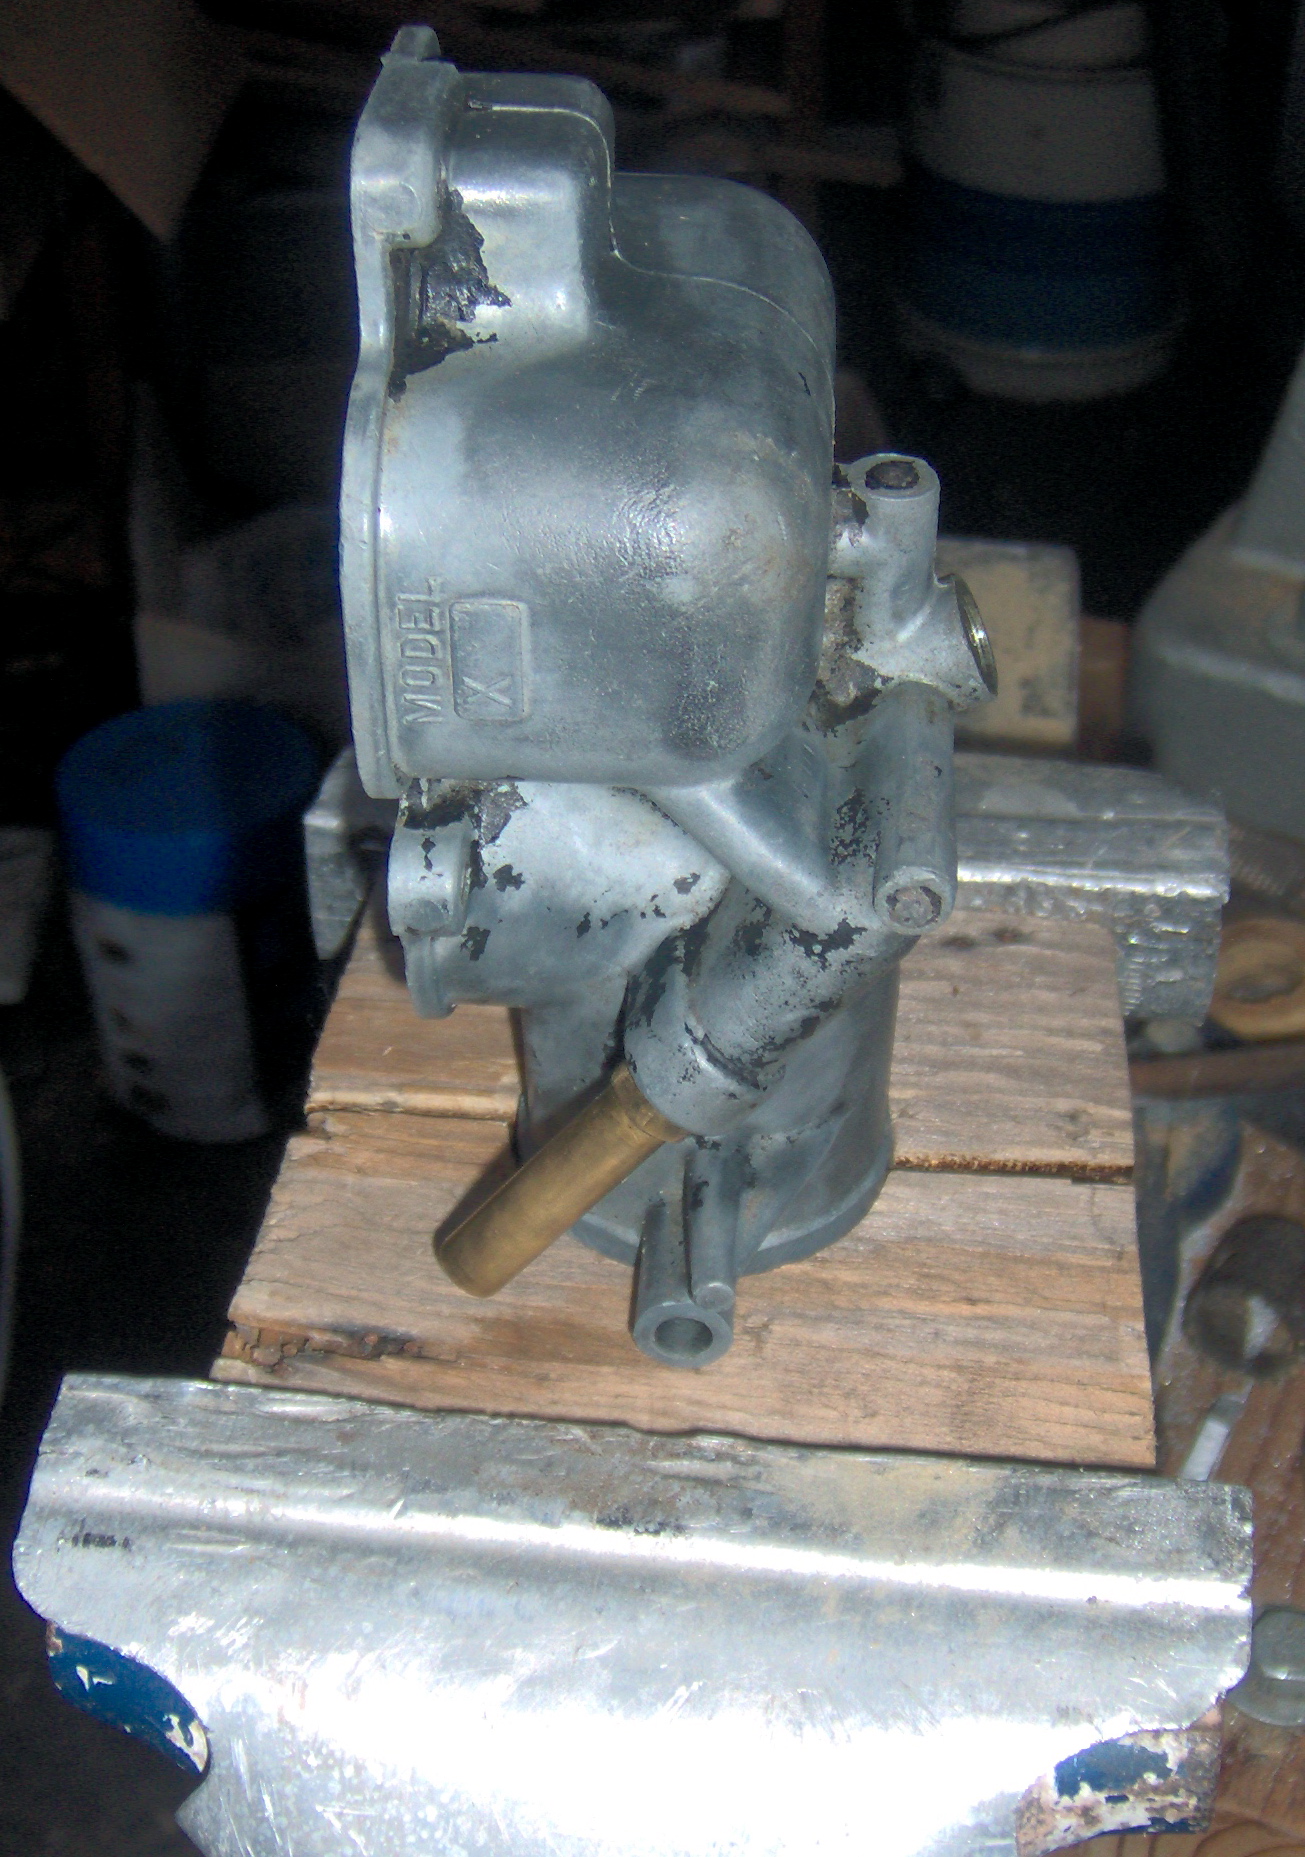 Proceed slowly and cautiously please. I only have one good lower casting, and this is more of "Nice To Have" action, as the carb heat box I'm planning to make up soon will be able to accomodate the out-of-roundness that's left at this point.
Most homebuilt carb heat boxes use the nice spun aluminum flanged fittings you can get from Aircraft Spruce. But the Tillotson throat doesn't match any of the available sizes exactly, so I've been scratching my head, and consulting my reference books for a way to custom fabricate such a thing without welding or machine tools. Found it, look at this:
 This flanged fitting is two pieces of sheet metal. The inner tube penetrates the wall of the box, presumably into a tight, flycut hole. The outer tube has the flange. It looks like there is a bit of spooj sealing it all up. I can make THAT. The rest of this guy's engine installation looks really good, check it out. And while you're at it, read a little about R.S. Hoover's approach to carb heat boxes, and William Wynne's personal experience on why you need one.
Labels: Engine, Fuel System, Project
posted by flybynightkarmarepair @ 10:46 PM
0 Comments
![]()
![]()


0 Comments:
Post a Comment
<< Home